Author

Robbie Coblentz

https://vimeo.com/213460524

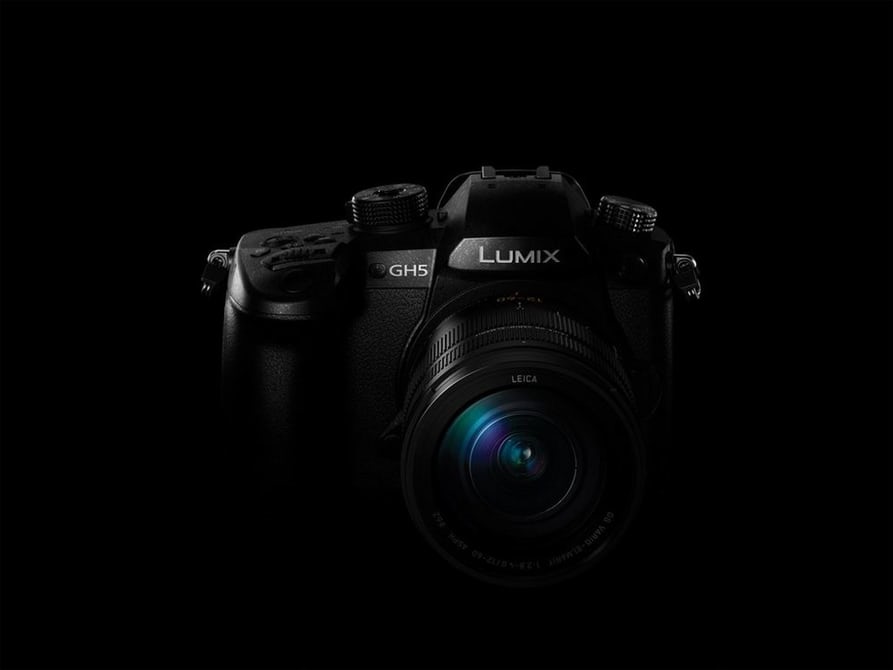
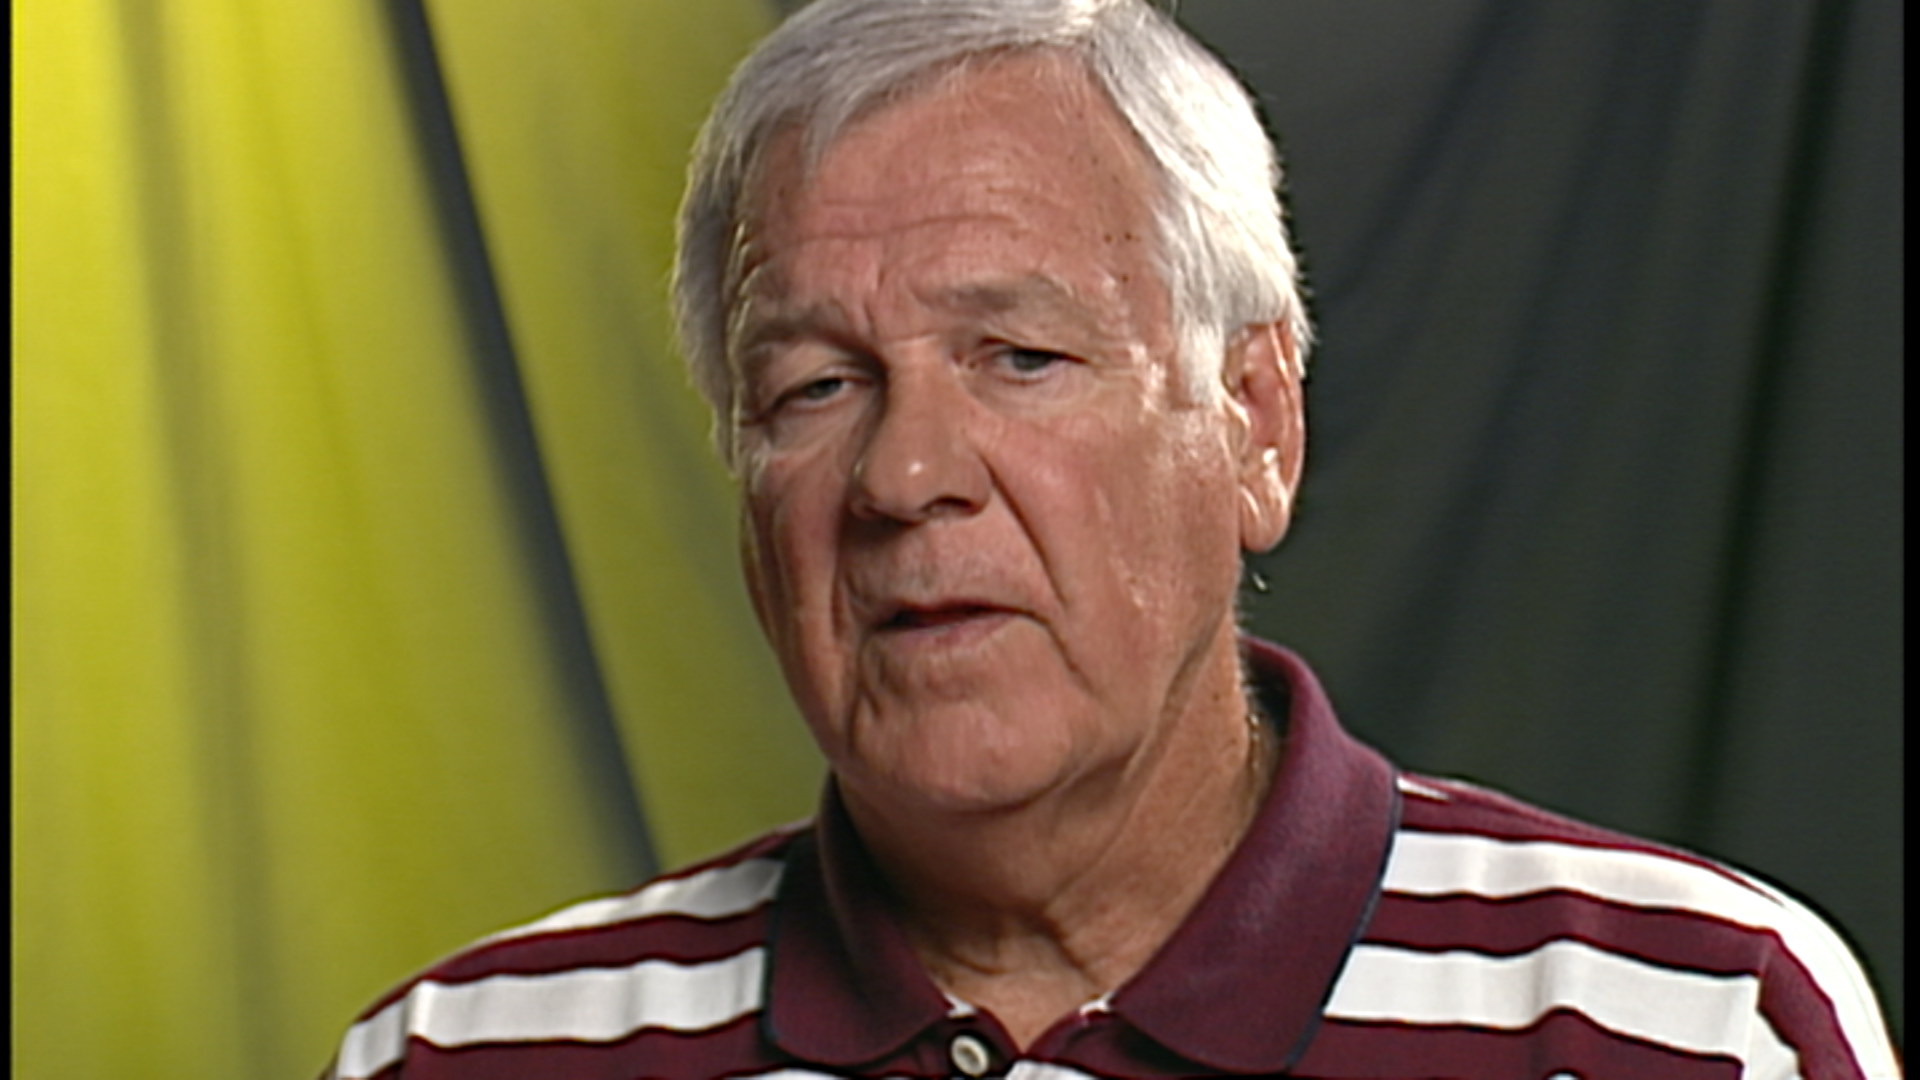
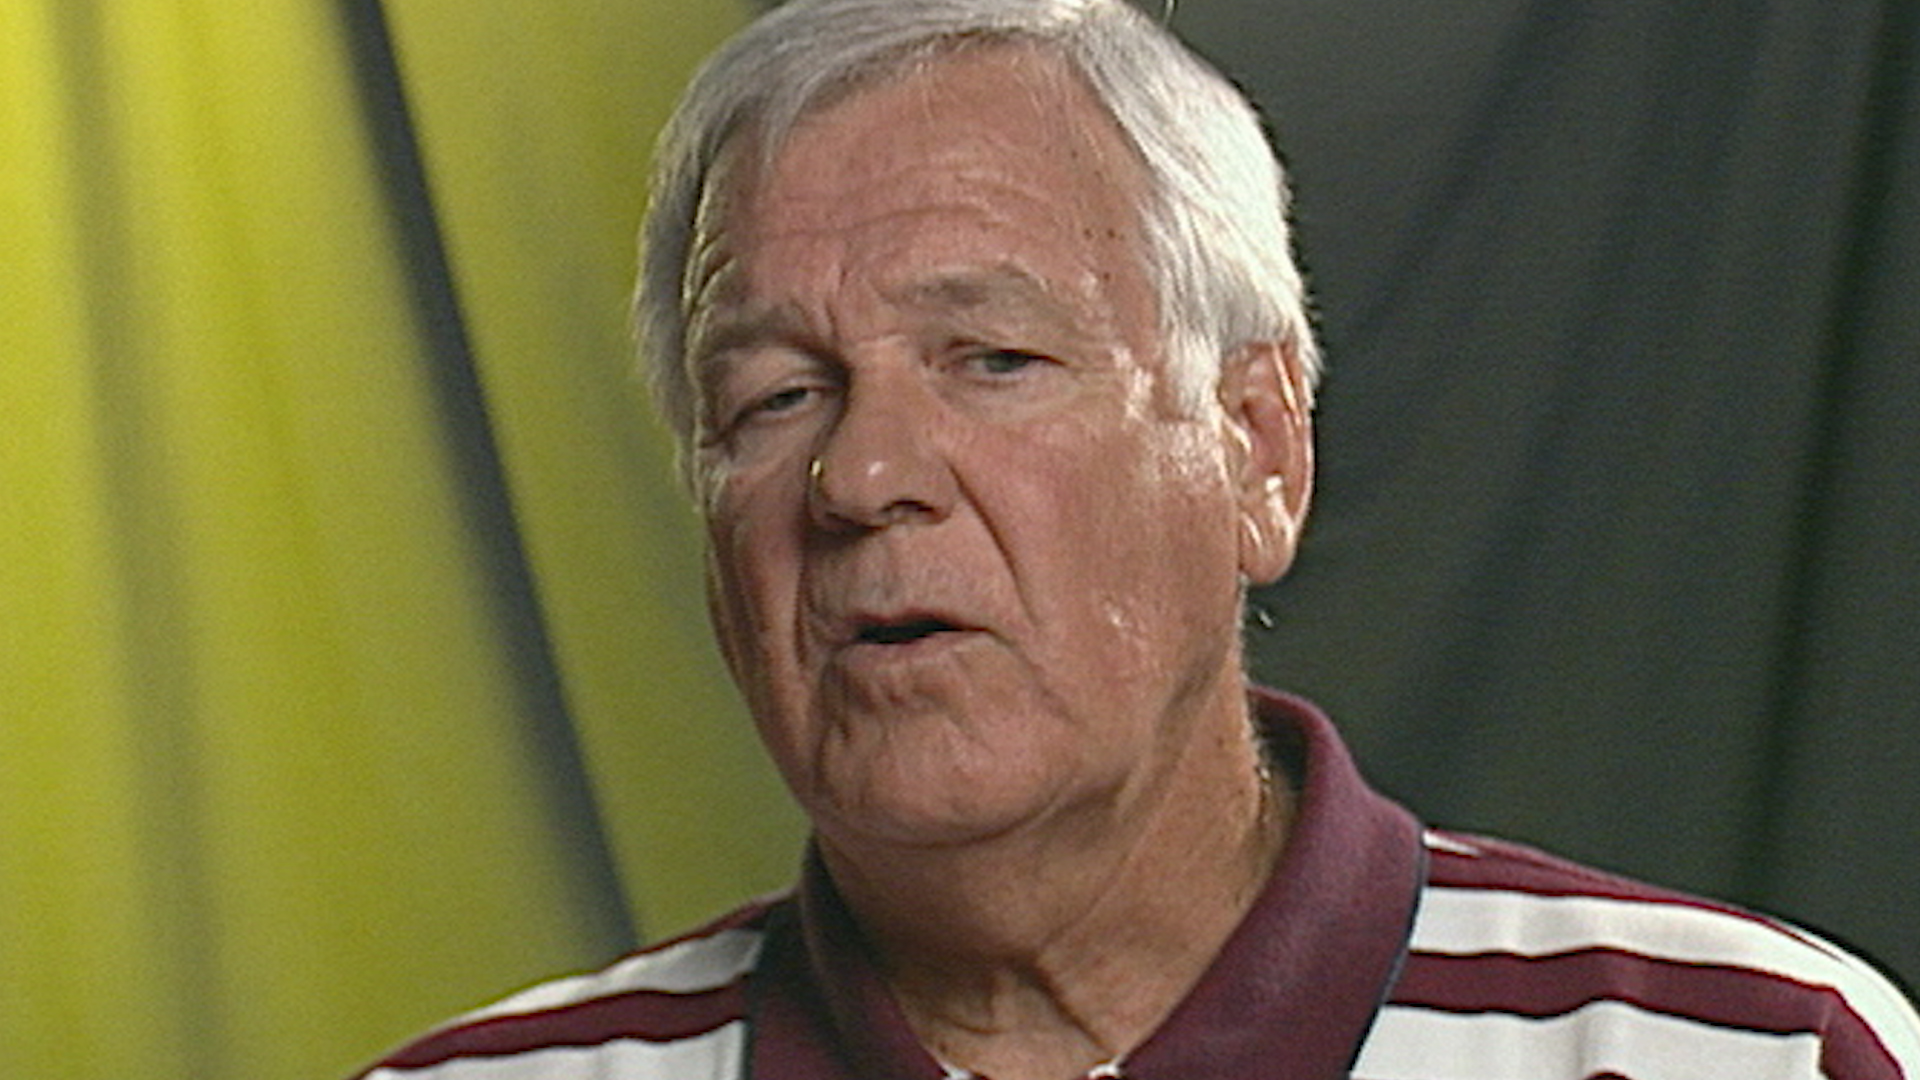
(Above: Quick footage shot with the Panasonic GH5 using Natural profile and no color correction or tripod.)

The Panasonic GH5 is a worthy successor to the venerable GH4 and the best sub $3000 HDSLR-esque camera on the market. I prefer the images out of it to my Sony A7S2 and plan on moving from Sony to multi GH5’s.  The GH5 appears to be closer to the look from our Canon C300 Mark II than any of the Sony units we own.

Blah blah blah.  Insert technical specs here.  Blah blah blah.  Insert pixel peeping comment here.  Blah blah blah. Insert gratuitous “Panasonic rocks” comment here in hope of getting their attention and a loaner for the GH6. Done.

As of this writing, I’ve shot with the GH5 for a little over a week.  It’s a  great camera and I’m ready to sell my Sony A7SII and A6500 and roll with the GH5.

What stands out to me about the Panasonic GH5 is:

The 10bit internal recording capability pairs nicely with the sensor and makes this camera’s footage appear sharp and lush in post.

The 5 axis image stabilization is fabulous and blows away any other in-camera stabilization and rivals a small handheld gimbal.  We have a Came-TV Optimus and I can mimic those results with just the GH5 handheld.  It still doesn’t touch my MoVI M10 when it’s properly balanced and rigged.

The ability to have a waveform and vectorscope on the viewfinder is amazing.  My Sony FS-5 doesn’t have either.

The full size HDMI out is great and alleviates one of my big concern of the A7SII- the micro HDMI port.

The ability to record internally, have an image on the viewfinder/LCD AND record 4k externally is huge and can’t be understated.  Both the Sony A7SII and  FS-5 are hobbled by allowing only 1 viewpoint- either the built LCD OR an external device.

The dual SD card slots and NO time limit on recording really pushes this toward the pro video space.

What I don’t like:

The crop factor STINKS.  I know you can buy a Metabones Speedbooster to reduce the 2X crop.  I know.  But I LOVE the full frame look of the A7SII.  Especially with a wide zoom, like my Canon 16-35L.  The micro 4/3rds format just can’t match that.

The low light is not that great.  It’s a lot cleaner than the GH4, but can’t hold a candle to the A7SII.  One of my clients is an industrial (steel) mill, and I don’t think I would get the same quality low light footage from the GH5 as I do the A7SII in that environment.

The color cast does trend a bit toward yellow, especially with CineV.  We are shooting a project tomorrow in CineD to see how that fares.

Premiere Pro CC 2017 on a Mac has a hard time with the MOV UHD 10bit 4:2:2 files.  I tried it on a 2013 6 Core MacPro with dual D500 and got stalls and a crash or two.  It plays much better in our custom built PC suites with an Nvidia 1080 card.

I have- and do own- a lot of cameras.  The GH5 is toward the top of the list right now.  My order, based on what I have in shop, of which camera I would reach for is:

Canon C300 Mark II
Panasonic GH5
Sony A7SII
Sony FS5
Canon C300 Mark I
Sony A6500
Canon 5D Mark III
AJA Cion

My value for the money order:

Panasonic GH5
Sony A6500
Sony A7SII
Sony FS5
Canon 5D Mark III
Canon C300 Mark I
Canon C300 Mark II
AJA Cion

I think about what if my shop burned down tomorrow, how would I repopulate my gear.  Right now I would buy 3 GH-5s and 1 Canon C300 Mark II (hopefully at a post NAB discount).

Each camera has it advantages and disadvantages and NO camera is perfect.  They are all pretty good, especially compared to my old Sony 637/PVV-3 combo. What an interesting time we live in.

April 16, 2017 0 comment
0 Facebook Twitter Google + Pinterest

I thoroughly enjoyed teaming up with Tony Cacciarelli, Director of Technical Sales 
Vitec Videocom, to teach a 2 day camera/lighting workshop at FMC’s Editor’s Retreat 2017 in Nashville.

For those who attending, here is the PDF of the slide notes:

LINK TO PDF HERE: 2017 Editor’s Retreat Camera Workshop

Thanks for everyone who attending.  It was a blast.


February 17, 2017 0 comment
0 Facebook Twitter Google + Pinterest

EXECUTIVE SUMMARY: I moved two edit suites to PC from 2013 MacPro systems in August, 2016.  I custom built my own workstations due to a perceived better power/cost ratio. This is the first in a series about the process.  This article details the chosen system components.

I made the move to a PC workstation from a Mac for video production.

I’ll skip the whole “Apple has abandoned us” mantra and jump right into it.

The lack of modern GPUs forced me to move from our 2013 MacPro trash cans and 2010 MacPro cheese-graters to Windows. We are primarily an Adobe shop that does 4k and a modern, fast GPU is essential to our workflow.

I looked at two routes to Windows.  I strongly considered buying a prebuilt configuration from HP or Dell.  The HP Z series are powerful machines geared toward content creation.  But I felt they were a bit overpriced versus a custom-rolled solution.

So I built a PC that we named DareDevil.

The purpose of this article is to document the hardware build and some of the gotcha’s I ran into as a long-time Mac guy heading to Windows 10.  It was smooth sailing for the most part, but I did have a few bumps.

First, I must thank Carey Dissmore and Eric Darling, fellow members of the IMUG List, for their help and guidance.  These guys had made the same switch months before and were able to provide some invaluable advice as I built my first machine.

My machine was built to handle in this order:

  1. 4K footage in Premiere Pro.
  2. Provide faster encodes to MP4 and MOV in Media Encoder.
  3. Speed up work and rendering in After Effects.

The prevailing wisdom was to get a large case with plenty of fans, a large power supply (1000+ watts) and a work station class motherboard that could handle the latest Intel CPU. So off I went.

The Case

I selected a Corsair Graphite Series 760T Full-Tower Case. This unit has plenty of room for extra hard drives, multiple fans, a liquid cooler and pretty much any expansion I might want.  It is a big unit though.  Luckily we have an established, cooled machine room that it can live in.


The Motherboard

Arguably the most important part of the system.  I chose the ASUS LGA2011-v3 X99-DELUXE II unit.  It can handle the latest Intel I7 processors, a lot of RAM with plenty of PCI slots.

The Processor

Intel seems to release a new processor family every 3 months. Frankly, I can’t keep them straight. Their latest (as of this writing) – the Broadwell-E family, is a pretty powerful i7 chipset. They range in power and price from the lower end i7-6700k 4 GHZ with 4 cores ($340 or so) to the high end i7-6900K 3.70 GHZ with 8 cores ($1040 or so).

The advice that I got from my friends who have travelled this road before was to chose a fast i7 over a Xeon.  They felt that the Xeon doesn’t offer much price/performance advntage.  I totally agree.

I settled on the mid range i7-6850K which has 6 cores and ships at 3.90 GHZ. It can be overclocked, supports 2 GPUs plus has native Thunderbolt.  It’s priced in the $550-$560 range.

Liquid Cooler

This was the component I was most concerned about to tell the truth.  I remember horror stories of early liquid coolers on the Mac and PC.  I didn’t fancy putting in a bucket of liquid in my new machine.  I went with a Corsair Hydro Series H100i GTX cooler.  It was easy to install and fit the case perfectly.  A good cooler allows overclocking and higher efficiency from the CPU.

RAM

We went with 64 gigs of RAM.  We stayed with Corsair and went with the Vengeance LPX DDR4 RAM.  The idea was to get as much RAM and as fast as we could fit in budget.  We installed 4×16 gig sticks. The package came with a nifty clip-on RAM fan.


The Boot Drive

SSD all the way for the boot drive.  I used a Samsung EVO Pro 850 512 gig SSD mounted on the right side of the case.  I tend to keep a very minimal boot drive- OS and aps.  All media is either on an additional drive or on a SAN.

The Cache Drive

The X99 has an M2 slot for a faster drive that interfaces directly into the motherboard. The idea was to use this ultrafast drive for the Adobe caches- Premiere Pro, After Effects, etc.  The faster the cache drive, the faster Creative Cloud seems to run.  I went with a Samsung 950 M2 256 Gb drive for the cache.

The Graphics Card

Nvidia continues to amaze.  The GTX1080 is a great CPU that is half the price of it’s predecessor.  It has 8Gbs of VRAM and 2560 CUDA cores.  At the time of the buld, the 1080 was brand new and in short supply.  I went with an EVGA GeForce GTX 1080 Founders Edition that was right at $700.

The Power Supply

Even though I was not running a lot of drives, I wanted a large enough power supply to give good, consistent power but also allow expansion- an additional GPU, more drives, RAID, etc.  Again, I went Corsair:  AXi series AX1200i 1200W.  I honestly could have gone with an 850w or 1000W just as easily, but I have extra capacity just in case.

Extras

This unit only needs video monitoring, not any sort of video input, so we went with a Blackmagic Design Mini-monitor card.  This PCI card provides HD-SDI and HDMI out and interfaces incredibly well with PP with little-to-no latency.  The BMD card feeds a Flanders 21” monitor via HD-SDI and a Philips consumer 42” LED for client monitoring via HDMI.


We run a 10Gig ethernet over copper SAN system, so we needed a 10Gig network card.  The Intel Ethernet Converged Network Adapter X540T2 was highly regarded and very affordable at $230.

I added a BluRay drive for DVD-R burns and legacy media.

We loaded Windows 10 Pro OEM on the computer.  I haven’t had extensive Windows experience since XP Pro on my old Media 100 844/X systems in the late 90’s.  The Pro version is the only way to go.

Next post: A video of how we built the unit from case to finished build.

Here is an Amazon store with the components above.  This is an affiliate link. Purchase may generate a commission to the author.


January 7, 2017 2 comments
0 Facebook Twitter Google + Pinterest

Panasonic announced the Lumix GH5 yesterday.  Great looking camera and as you could expect, there is a lot of discussion.  It has almost become an echo chamber of specs, excitement and “how cool is that” talk.

Technical Specifications

•20.3MP Digital Live MOS Sensor

•Venus Engine Image Processor

•UHD 4K 60p Video with No Crop

•Internal 4:2:2 10-Bit 4K Video at 24/30p

•5-Axis Sensor Stabilization; Dual I.S. 2

•0.76x 3.68m-Dot OLED Viewfinder

•3.2″ 1.62m-Dot Free-Angle Touchscreen

•Advanced DFD AF System; 6K & 4K PHOTO

•ISO 25600 and 12 fps Continuous Shooting

•Dual UHS-II SD Slots; Wi-Fi & Bluetooth

•Price: $1998

My questions:

What is the low light sensitivity like?  I owned a GH3 and a GH4 and loved the look, but they really suffered in low light.  I couldn’t push the GH4 past 800 ISO music without noise becoming prevalent.  I seriously doubt Panasonic can rial the Sony A7S2, which I love for a lot of reasons include sensitivity, but is it improved? I would suspect so.

What is the crop factor? I’ve seen that the 4K is full frame, but what is the native crop factor like?  You can do some amazing things with Speedboosters, but I would love to see closer to a full frame GH5- or at least a APS-C crop- rather than the 2x-ish crop factor of the GH4.

What is autofocus like with adapted lens? I should my GH4 and my M43 lens last year and have an extensive line of Canon and Sony glass.  Will the new autofocus on the GH5 work well with adapted Canon glass?

How effective will the 5-axis stabilization be with non-native/adapted lens? We have been really pleased with the stabilization with our Sony A7S2 with adapted Canon glass.  Will the GH5 provide a similar level of quality?

What will audio quality be like? I love the newly announced XLR adaptor for the hotshoe. But the GH4 suffered from some audio quality issues.  Will the internally recorded audio on the GH5 be better?

Some great articles on the GH5:

Cinema 5D: The Hardware of the Panasonic GH5 – An Interview with Panasonic’s M. Uematsu

Newshooter: Panasonic GH5 at CES 2017: Internal 10-bit 422 4K recording at 400 Mbps, and HD up to 180fps

DPReview: Movie Maven: Panasonic Lumix DC-GH5 First Impressions Review

January 5, 2017 0 comment
0 Facebook Twitter Google + Pinterest

A product demo video is helpful to your current and future customers.

Youtube could actually be renamed Demo-tube. There are millions of product demo videos, tear-downs and tutorials all over the video sharing site. But what makes a good product demo video?

At its heart, a product demo video shows a few aspects and benefits of a product and how to operate it for maximum effectiveness. Basically it says, this is widget X, this is how you turn it on and this is how you make it do this or that.

There’s a few things to keep in mind when you produce a product video.

Don’t spend all your time introducing yourself as an expert and giving your credentials. Your viewers probably are watching because they have a level of frustration with the product you are demo-ing. They are eager to learn, so get the demo going.

Clearly state what the product is and what you are going to do with it. Limit your demo to one or two specific areas. Don’t try to demonstrate every feature and potential problem with the product. It’s better to produce multiple videos, each concentrating on one specific feature than to try to jumble them into a single video.

Aim for high production values. Make sure the camera is in focus and zoomed in to the specific area of the product where the demo is happening. Lighting must good and audio needs to be clear.

Consider using a second camera. The most effective product demo videos use a wide angle shot and a close-up to maximize usefulness. It is very helpful to give a context of the specific area you are working in by showing a wide shot and then zooming in with a second camera to show any small buttons, dials, switches or screws.

Record a recap at end and tease any other demos for the same product. Chances are, if the viewer has gotten to the end of this demo, they might want to learn from you about other aspects of the product.

Product demo videos are an easy way for companies to help with after sales-training and make the lives of their customers easier. They provide a valuable after-market value for your products in a cost-effective way.

A product demo video we did Gundogsupply.com is linked above.  It’s a short effective video that concentrates on a single aspect of a product. It’s a good example of how you can combine high production values with a simple message to create an effective demo video that can enhance your product offerings.

January 2, 2017 0 comment
0 Facebook Twitter Google + Pinterest

A brand story video is used to introduce customers to your company.

The idea is to tell your story and explain why you started producing your product or service. A brand story video is more about who you are and why you do what you do rather than focusing on a specific item for sale. Think warm and fuzzy like Budweiser and the Clydesdales or brash and funny like Dollar Shave Club.

A few basics on how to create a brand story video:

Simple is best. Start with a single idea and stick to it. Don’t barrage the viewer with a bunch of ideas and hope that one sticks.

Keep it brief. Make your video length under 3 minutes. In fact, aim for 2 minutes. Or even 60 seconds. http://www.reelseo.com/facebook-videos-engagement/

Message at front. Don’t bury you message in the body of the video. Get to it as soon as possible. Viewers lose interest otherwise and quickly will move to another video.

Avoid small graphics. More and more video consumption is happening on mobile devices. (Source: www.marketer.com)  Don’t make your viewers pull out a magnifying glass to see your on-screen graphics when viewing on a phone or tablet.

Make it interesting. Is your product anther in a long line of widgets that does the same as every other widget? Or does it do something different? Or can you do something different with it? Blendtec has taken their “Will it blend” videos and created a viral sensation by blending almost anything. It’s a great way to take an ordinary appliance — like a blender — and turn it into something fun.

The brand story video we did for the farm-to-table movement in Starkville, MS is linked above.  It’s a short film told through the eyes of the chefs and farmers making the change. It’s a good example of how you can promote your brand in a storytelling fashion.

December 3, 2016 0 comment
0 Facebook Twitter Google + Pinterest

In this lighting BTS video, Margaret Buell, former creative director for video at Tellōs Creative and Broadcast Media Group, walks us through the set up of a typical interview scene. Margaret discusses the different lights used and how they were placed and set.

Equipment used: Canon EOS C300, Canon Cine Prime 50mm, BMPCC (b-cam), Lowel Rifas, Chimera softbox, Arri 300 W fresnel, Frezzi mini, various flags and gobos.

April 21, 2016 0 comment
2 Facebook Twitter Google + Pinterest

I steampunked my MacBookPro

I love my 17-inch, early 2011 MacBook Pro.  Great machine.  Quick, quiet and just generally beautiful.  On a remote edit job in Chicago this summer, I learned how versatile and powerful this thing was as I slammed a ton of video together in FCP.

After that, I decided I wanted to turn it into a semi-permanent edit system in my office, away from the standard edit bays.  I began looking around for external monitor and storage solutions that would fit on a small desk “L” style to my present, main desk.

I pulled the trigger on a Apple Thunderbolt Display for my monitor.  It gave me everything I was looking for — easy connect, mag safe power, external ports galore.  The simplicity of the thunderbolt/mag safe connection was awesome.  But where was I going to put my MBP?

The location and size of the desk lead me to look for a vertical mounting solution for the MBP.  But I couldn’t find one that I really liked.

So it was off to Lowe’s.

I love to wander Lowe’s looking for a DIY solution to a problem like this.  The only downside — the 22 inquiries of “Can I help you, sir?” How to explain to a sales clerk that you are looking for a cheap, good way to mount some Flo-lights above a green screen?  Blank stares almost every time.

We’ve used steel black pipe for a variety of solutions, but never anything like this. But I thought the 3/8” black pipe would look cool rigged as a steampunk-ish sort of MacBook Pro vertical stand.

I camped out in the plumbing section for about 20 minutes as I began to assemble a collection of elbows, tees, caps and pipe.  The result — my steampunk vertical MacBook Pro stand.

It’s a simple design that can be adapted to almost any laptop.  You could make it smaller for a 13” or 15” very easily.

I have my MBP in a Speck transparent case which protects the surface from scratches and dents.  I suspect you could put a few felt pads from a couple of aisles over on the contact points to prevent scratches or dings.

This was an easy and fun project that didn’t need overnight shipping or an Amazon Prime membership. Plus it looks cool to boot.

December 7, 2015 0 comment
8 Facebook Twitter Google + Pinterest

In 1963, the Mississippi State University men’s basketball team had to sneak out of the state to play in the NCAA basketball national championship tournament. The highly ranked Bulldogs had been denied participation in the tournament the previous 4 seasons because of an unwritten law that prohibited Mississippi collegiate sports teams from competing against intergrated teams. The university president, coach and players defied the governor and state legislature and traveled to East Lansing, Michigan in March, 1963 in a game against Loyola-Chicago that helped change the sport forever.

In 2001, my company — Broadcast Media Group — produced the first documentary based on the event. “One Night in March” aired locally on Public Television and did the festival circuit.  The project was a mixture of SD footage, photographic stills and newspaper clippings.

I wanted to freshen up the project for the 50th anniversary in 2013 by re-editing it in 1080 HD, adding in newly discovered footage and generally cleaning up the program.

It was easy in After Effects to reanimate the picts to the needed resolution. Every new interview since the original production had been shot in some flavor of high definition.  Likewise, the new B-roll had been acquired with a Canon C300 at 1080 23.98 fps.

But we had some irreplaceable interviews on Betacam SP that had to be in the new piece. The challenge was to make the SD footage look as good as possible in an HD project.

Converting the EDL from my old, trusty Media 100 project file was one of the easiest steps, thanks to the team at Boris.  Their current version of the Media 100 application opened the old project easily and created an XML I could read into Premiere Pro CS6, our new edit platform of choice.

Now came the hard part — upconverting the SD footage to make it usable in an 1080 program.

Back in 1998-2001, we shot some great interviews with members of that historic basketball team.  It was great-looking footage — by 2001 standards.  Betacam SP at 29.97 fps and a 4 x 3 aspect ratio.  Vintage SD.

But nostalgia only takes you so far.  We needed a serious tool to get us to full HD with minimal artifacts and great scaling.

We tried some of the available software solutions on the Mac platform.  The results ranged from blah to OK.  It’s just not easy to make BetaSP SD look good.

Or so I thought.

Enter the Blackmagic Design Teranex 2D Processor.  Or as we call it in my shop — Black Magical Pixie Dust.

At NAB 2012, the focus was on the Blackmagic Cinema Camera. But tucked back in the recesses of the BMD booth was the Teranex 2D Processor with its jaw-dropping price right under $2,000.

This was a box that had cost close to $100,000 just a few months before.  Now Grant Petty and the Blackmagicteers were promising the legendary upscale/crossconverting muscle of a full-blown Teranex for a fraction of the original cost.

Sure.  I’ll try the Kool-aid. At this point, we were desperate. The software solutions were ho-hum at best.  We really needed the Teranex to work.

We got the unit and threw it into service.

The Teranex 2D Processor processor harkens back to the days where rack-mount gear could be operated solely by front-control panels without the need to tether to a computer for control.

Operation is simple.  Connect your source to the input side using either composite or component analog (SD or HD) or via SDI (again SD or HD). You can connect a DB25 audio breakout cable for XLR analog or AES/EBU audio ins and out or use line level RCA jacks.

Once you hook up your source — in our case a Sony UVW 1800 — you dial in the destination format for output on the front panel.  We wanted 1080 HD 29.97 FPS with a 16×9 cut as our output.

The output via HD-SDI to our Flanders Scientific monitor was stunning.  Minimal upscale artifacts.  Motion looked great.  The 16×9 cut framed nicely. Audio embedded nicely with no sync issues.

Wow. There must be magic pixie dust in there.

Our footage was of well-lit interviews on neutral backgrounds with minimal motion. They no longer looked like SD acquisitions.

The Teranex 2D Processor didn’t make these late 20th century pieces of video look like they were shot on our modern Canon C300, but they didn’t stick out like a sore thumb, either.

Amazing.

Upconvert BetaSP SD to HD with the BMD Teranex

Upconvert BetaSP SD to HD with Premiere

Hurdle one passed.  Next up — some game footage from 1963 that had been transferred to BetaSP.  Bad lighting.  Bad motion. The kind of images you would expect from coaches film from a 1963 college basketball game.

We used the same configuration on the Teranex. BetaSP VTR into component inputs with HD SDI out at 1080 29.97 fps.

And we got the same great-looking results. Pixie dust struck again.

The Teranex 2D Processor functions as a front panel-driven stand alone box or it can be used as a capture card via the Thunderbolt port on the back.  It will work with the usual suspects — FCP (7 and X), Premiere Pro, Media Composer and Resolve. It makes a great capture system for any Thunderbolt equipped Apple machine.

We tried it in stand-alone mode, feeding its HD-SDI output to a MacPro with a PCIe capture card and also as an ingest device.  The quality was good both ways, but using it as a native card did seem to produce a slightly sharper image.

The Teranex also does format conversion, transcoding between NTSC and PAL in both SD and HD. Some of the alphabet/number soup it works in:

SD Format Support

625/25 PAL, 525/29.97 NTSC and 525/23.98 NTSC

HD Format Support

720p50, 720p59.94, 1080PsF23.98, 1080p23.98, 1080PsF24, 1080p24, 1080PsF25, 1080p25, 1080PsF29.97, 1080p29.97, 1080i50, 1080p50, 1080i59.94 and 1080p59.94

I’m telling you, it’s magic pixie dust.

I would think a current generation 27” iMac with an i7 and 32 gigs of RAM with a Teranex 2D Processor in tow would make a killer video production station.  Park a rack of SD VTRs next to it, and you will have your own up/cross convert system ready to handle almost anything.

The response to the reworked “One Night in March” documentary has been overwhelmingly positive. It aired on Mississippi Public Broadcasting several times and garnered the audience choice award at the 2013 Magnolia Independent Film Festival. The Teranex 2D Processor helped make it possible by letting us include footage that we would have seriously considered cutting due to its SD limitations.

Blackmagic Design continues to amaze with their ability to take existing technologies that are financially out of reach to most film-makers and post shops, acquire and polish them a bit, then unleash them at a radical price point that shakes the foundations of the industry.  The Teranex 2D Processor convertor falls into the same category as every other revolutionary BMD product. It just doesn’t have a micro-43 mount and shoot in RAW.

April 21, 2014 0 comment
1 Facebook Twitter Google + Pinterest