 EXECUTIVE SUMMARY: I moved two edit suites to PC from 2013 MacPro systems in August, 2016. I custom built my own workstations due to a perceived better power/cost ratio. This is the first in a series about the process. This article details the chosen system components.
I made the move to a PC workstation from a Mac for video production.
I’ll skip the whole “Apple has abandoned us” mantra and jump right into it.
The lack of modern GPUs forced me to move from our 2013 MacPro trash cans and 2010 MacPro cheese-graters to Windows. We are primarily an Adobe shop that does 4k and a modern, fast GPU is essential to our workflow.
I looked at two routes to Windows. I strongly considered buying a prebuilt configuration from HP or Dell. The HP Z series are powerful machines geared toward content creation. But I felt they were a bit overpriced versus a custom-rolled solution.
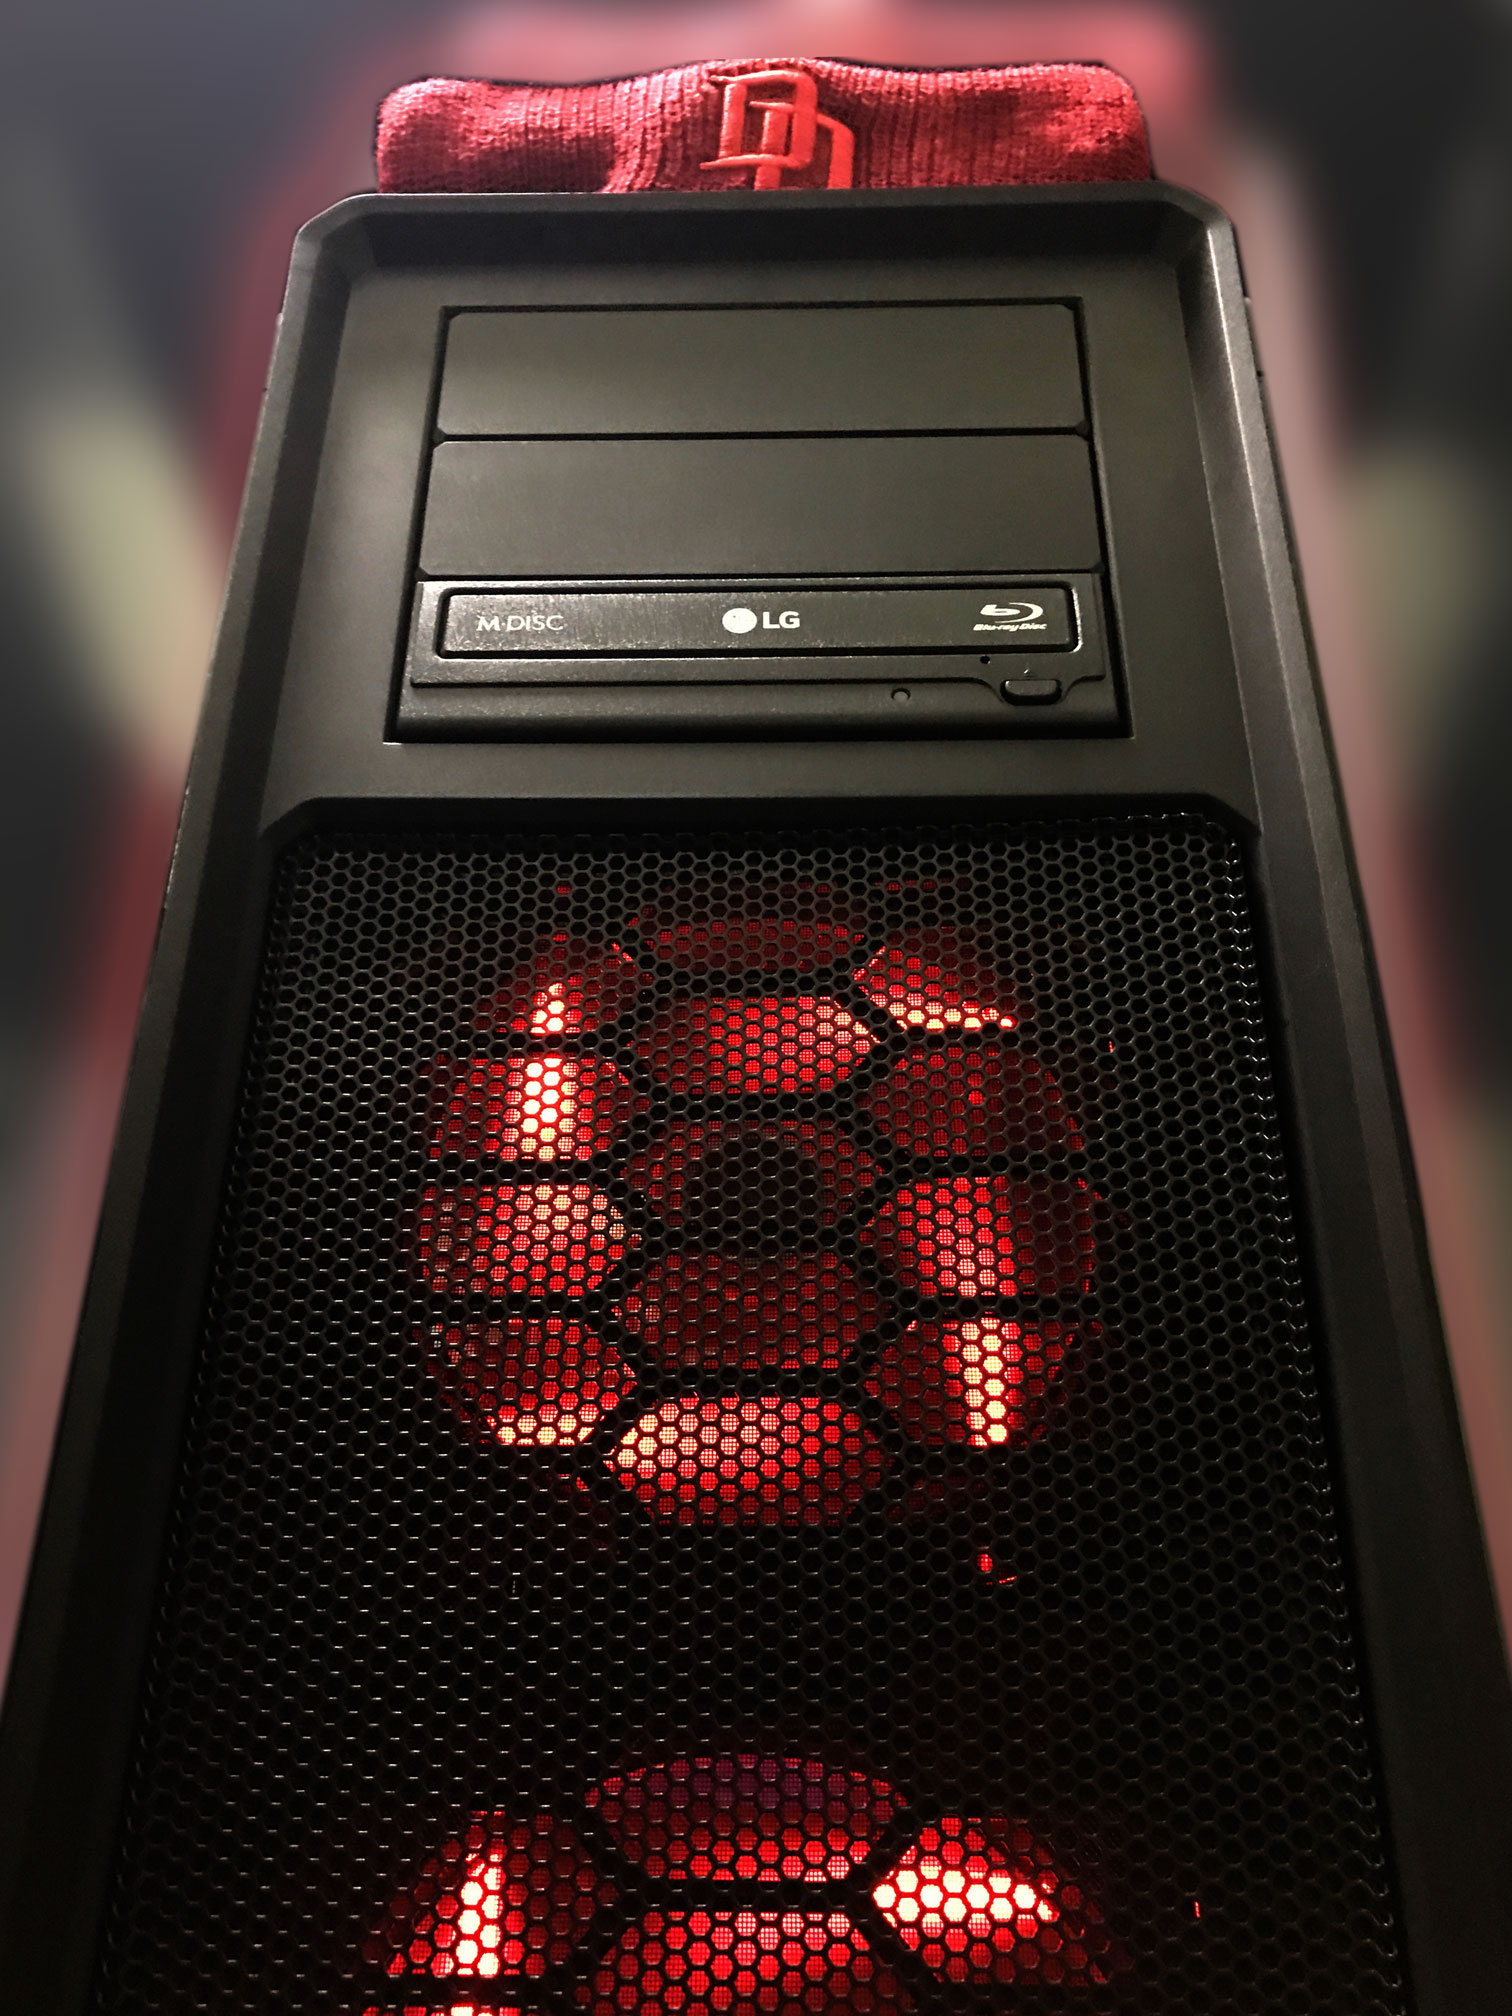
So I built a PC that we named DareDevil.
The purpose of this article is to document the hardware build and some of the gotcha’s I ran into as a long-time Mac guy heading to Windows 10. It was smooth sailing for the most part, but I did have a few bumps.
First, I must thank Carey Dissmore and Eric Darling, fellow members of the IMUG List, for their help and guidance. These guys had made the same switch months before and were able to provide some invaluable advice as I built my first machine.
My machine was built to handle in this order:
- 4K footage in Premiere Pro.
- Provide faster encodes to MP4 and MOV in Media Encoder.
- Speed up work and rendering in After Effects.
The prevailing wisdom was to get a large case with plenty of fans, a large power supply (1000+ watts) and a work station class motherboard that could handle the latest Intel CPU. So off I went.
 The Case
I selected a Corsair Graphite Series 760T Full-Tower Case. This unit has plenty of room for extra hard drives, multiple fans, a liquid cooler and pretty much any expansion I might want. It is a big unit though. Luckily we have an established, cooled machine room that it can live in.
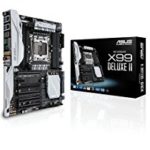 The Motherboard
Arguably the most important part of the system. I chose the ASUS LGA2011-v3 X99-DELUXE II unit. It can handle the latest Intel I7 processors, a lot of RAM with plenty of PCI slots.
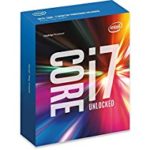 The Processor
Intel seems to release a new processor family every 3 months. Frankly, I can’t keep them straight. Their latest (as of this writing) – the Broadwell-E family, is a pretty powerful i7 chipset. They range in power and price from the lower end i7-6700k 4 GHZ with 4 cores ($340 or so) to the high end i7-6900K 3.70 GHZ with 8 cores ($1040 or so).
The advice that I got from my friends who have travelled this road before was to chose a fast i7 over a Xeon. They felt that the Xeon doesn’t offer much price/performance advntage. I totally agree.
I settled on the mid range i7-6850K which has 6 cores and ships at 3.90 GHZ. It can be overclocked, supports 2 GPUs plus has native Thunderbolt. It’s priced in the $550-$560 range.
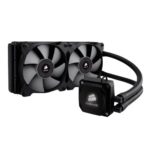 Liquid Cooler
This was the component I was most concerned about to tell the truth. I remember horror stories of early liquid coolers on the Mac and PC. I didn’t fancy putting in a bucket of liquid in my new machine. I went with a Corsair Hydro Series H100i GTX cooler. It was easy to install and fit the case perfectly. A good cooler allows overclocking and higher efficiency from the CPU.
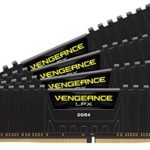 RAM
RAM
We went with 64 gigs of RAM. We stayed with Corsair and went with the Vengeance LPX DDR4 RAM. The idea was to get as much RAM and as fast as we could fit in budget. We installed 4×16 gig sticks. The package came with a nifty clip-on RAM fan.
The Boot Drive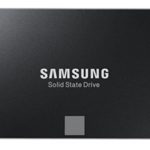
SSD all the way for the boot drive. I used a Samsung EVO Pro 850 512 gig SSD mounted on the right side of the case. I tend to keep a very minimal boot drive- OS and aps. All media is either on an additional drive or on a SAN.
 The Cache Drive
The X99 has an M2 slot for a faster drive that interfaces directly into the motherboard. The idea was to use this ultrafast drive for the Adobe caches- Premiere Pro, After Effects, etc. The faster the cache drive, the faster Creative Cloud seems to run. I went with a Samsung 950 M2 256 Gb drive for the cache.
 The Graphics Card
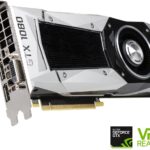
Nvidia continues to amaze. The GTX1080 is a great CPU that is half the price of it’s predecessor. It has 8Gbs of VRAM and 2560 CUDA cores. At the time of the buld, the 1080 was brand new and in short supply. I went with an EVGA GeForce GTX 1080 Founders Edition that was right at $700.
 The Power Supply
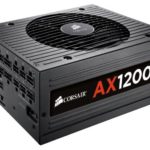
Even though I was not running a lot of drives, I wanted a large enough power supply to give good, consistent power but also allow expansion- an additional GPU, more drives, RAID, etc. Again, I went Corsair: AXi series AX1200i 1200W. I honestly could have gone with an 850w or 1000W just as easily, but I have extra capacity just in case.
Extras
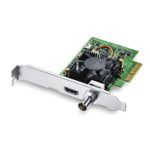 This unit only needs video monitoring, not any sort of video input, so we went with a Blackmagic Design Mini-monitor card. This PCI card provides HD-SDI and HDMI out and interfaces incredibly well with PP with little-to-no latency. The BMD card feeds a Flanders 21” monitor via HD-SDI and a Philips consumer 42” LED for client monitoring via HDMI.
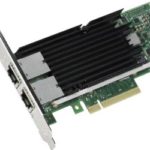 We run a 10Gig ethernet over copper SAN system, so we needed a 10Gig network card. The Intel Ethernet Converged Network Adapter X540T2 was highly regarded and very affordable at $230.
I added a BluRay drive for DVD-R burns and legacy media.
We loaded Windows 10 Pro OEM on the computer. I haven’t had extensive Windows experience since XP Pro on my old Media 100 844/X systems in the late 90’s. The Pro version is the only way to go.
Next post: A video of how we built the unit from case to finished build.
Here is an Amazon store with the components above. This is an affiliate link. Purchase may generate a commission to the author.